The main point here is how to configure the environment in the windows environment.
1. First install the JDK
Java sdk referred to as JDK, go to its official website to download the latest JDK. . Http://
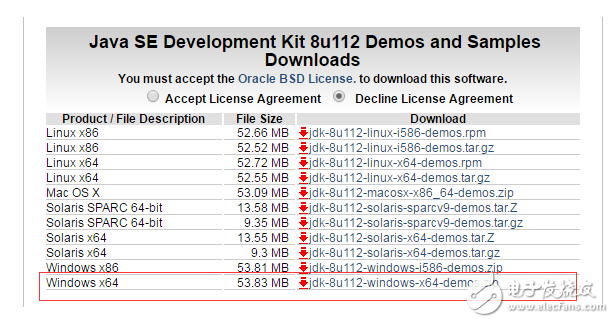
Click the downloaded exe file to install it.
2. Next we need to configure the environment variables
Right click on 'x computer' under xp system - attribute - advanced
Win7 system right click 'computer' - properties - advanced system settings - advanced map is win7 system demo
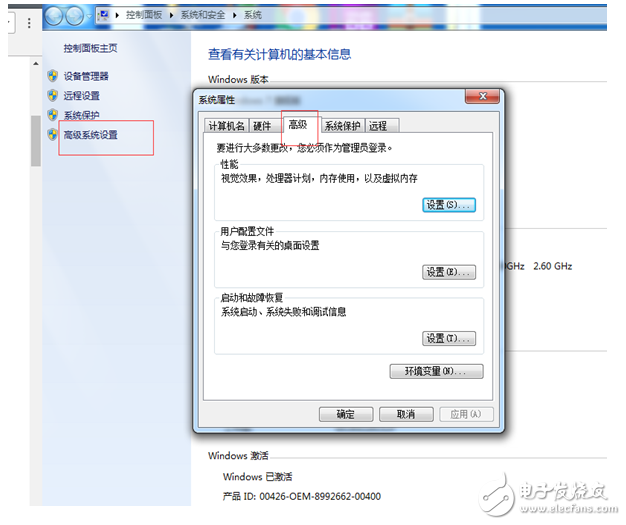
Click on environment variable
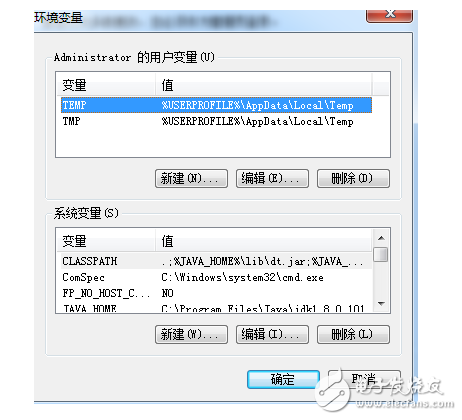
Next, you must have three attributes: JAVA_HOME, PATH, and CLASSPATH.
1. Configure the JAVA_HOME attribute
Find the directory where you installed the java SDK: C:\Program Files\Java\jdk1.8.0_101 (The java sdk1.8.0 version is the current demo version. If it is not a version, it doesn't matter, the installation configuration process is the same) Copy the path
Click on New under 'System Variables' in the figure above.
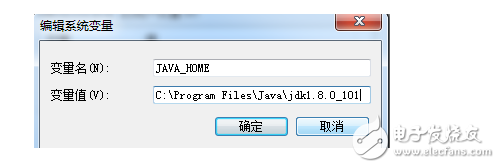
Fill in the variable name 'JAVA_HOME', the variable value directly paste the last copied java SDK installation directory 'C:\Program Files\Java\jdk1.8.0_101', and then click "OK", the JAVA_HOME variable is configured. .
2. Configure the CLASS_PATH variable
Similar to configuring JAVA_HOME, click "New" in "System Variables" and enter them in the pop-up window.
Variable name: "CLASSPATH"
Variable value: ".;%JAVA_HOME%\lib\dt.jar;%JAVA_HOME%\libools.jar;" (take the value inside the quotes, including the previous ".", where %JAVA_HOME% is configured before reference JAVA_HOME )

Click "OK" to configure the CLASS_PATH variable.
3. Configure the path variable
Find if there is a path variable in 'system variable'
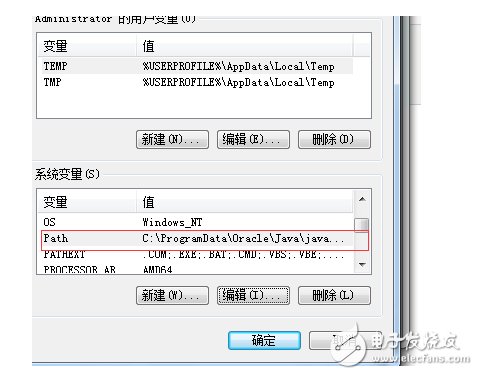
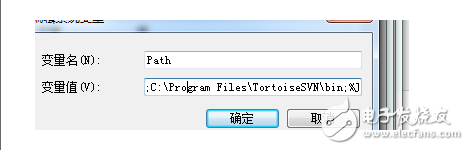
As shown above, the PATH variable is already in the system configuration. Click 'Edit' here, as shown in the figure below, you can see that the variable has a value. Add a semicolon (';') at the end of the variable value, and paste it. The path to the java SDK installation directory.
C:\Program Files\Java\jdk1.8.0_101\bin
3. Test environment variable configuration:
Then click 'Start' - 'Run', type 'cmd' or win+r shortcut to enter 'cmd'.
Enter java -version in the dos environment
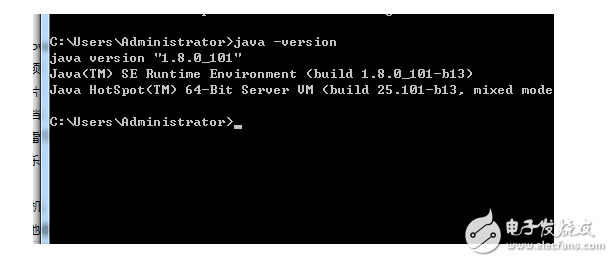
After doing this, the environment variables we configured are correct.
Second, use elipse to create a java project step by step1. Download eclipese
Official address: http://
2. Unzip eclipse.exe and you're done.
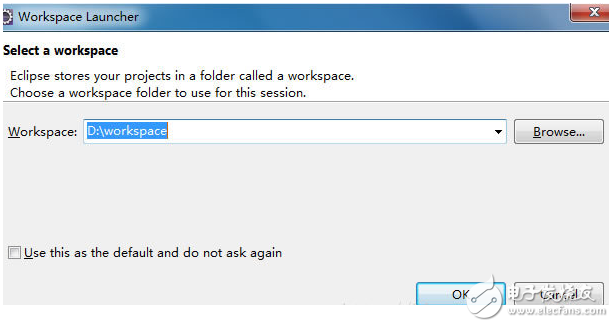
3. Establish a workspace
a. Open eclipse.exe The first interface appears, you need to set the workspace, we put it in the D disk workspace directory, click ok
b. Click on the “workbench†link in the upper right corner of the work area to enter the workbench.
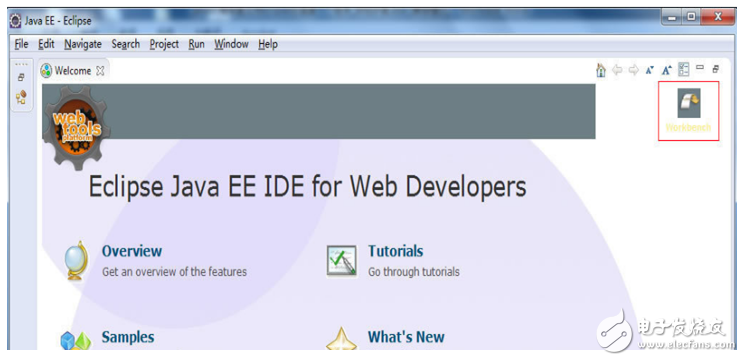
Open the work interface
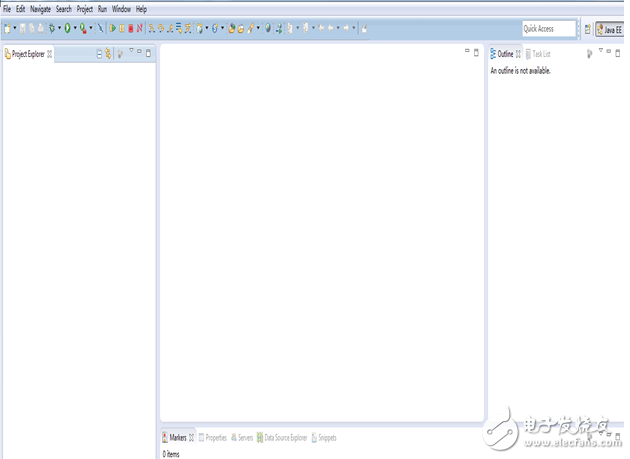
c, create a java project

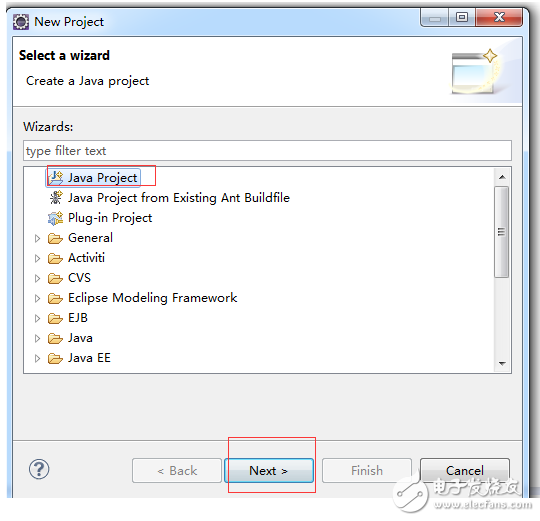
The pop-up page selects "Java Project"
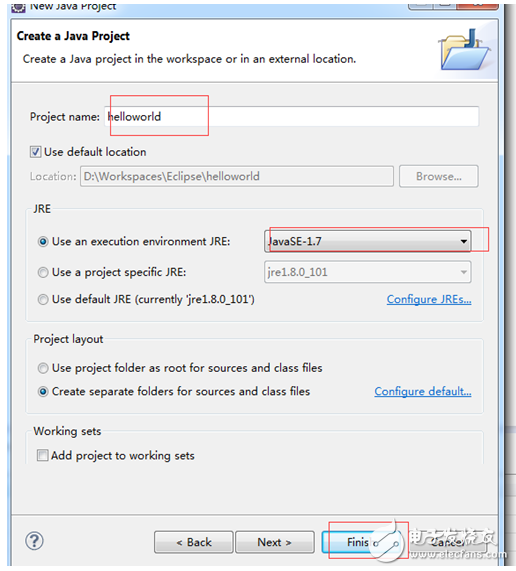
Project name can be filled in with its own project name. Other options use default values, click "Finish".
The workbench on the left will show the completed project.
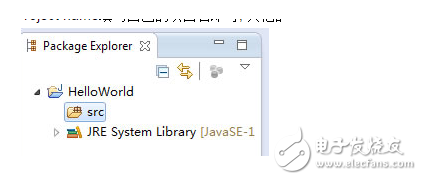
d. New package package
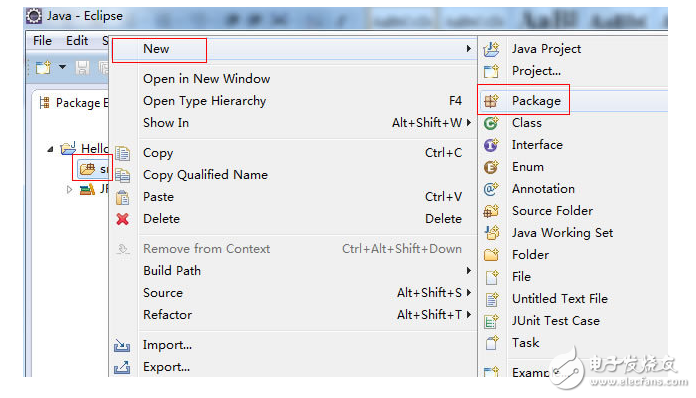
Right click on the 'src' package in the project and select new - package
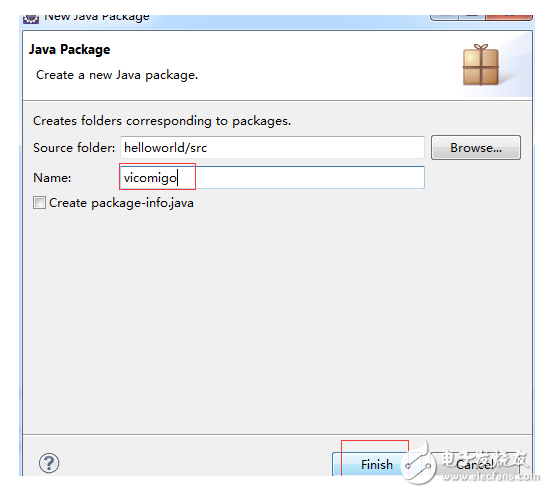
There is no special requirement for the package name here, mainly the specification of the development agreement. The blog name is written here. Click finish to finish.
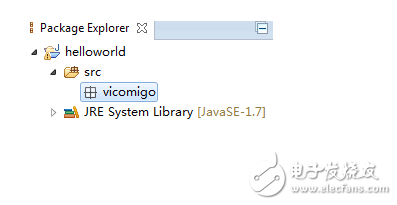
In the src directory, I will create a new class in the newly created PACKAGE package.
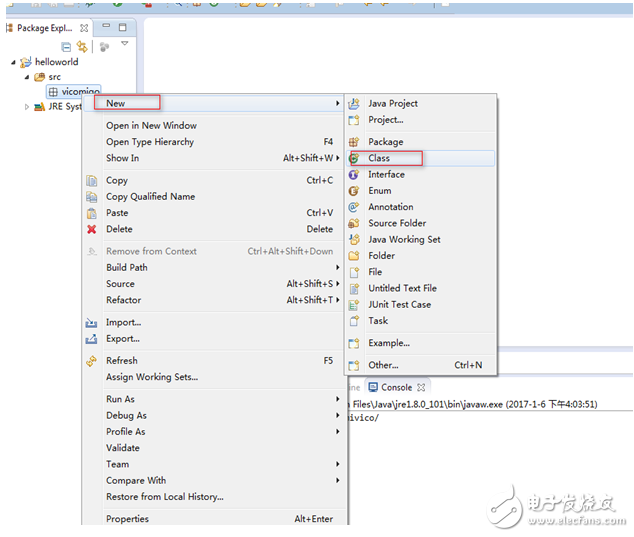
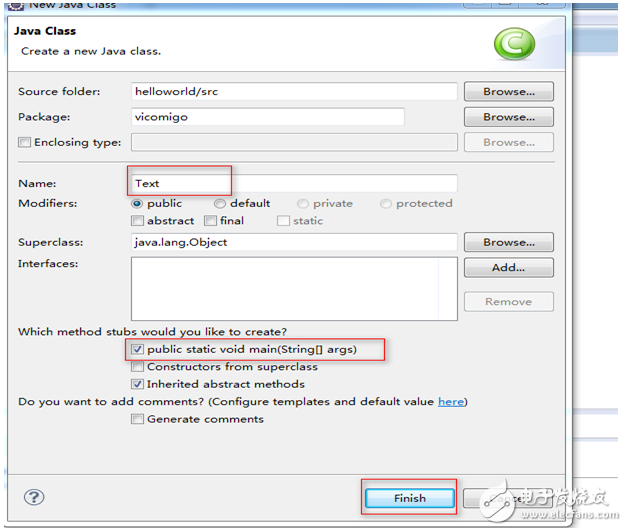
Fill in the class name (class name is case sensitive), check the check box shown in the figure (public static void main (String [] args)), in order to automatically generate the main method, click "Finish" to complete.
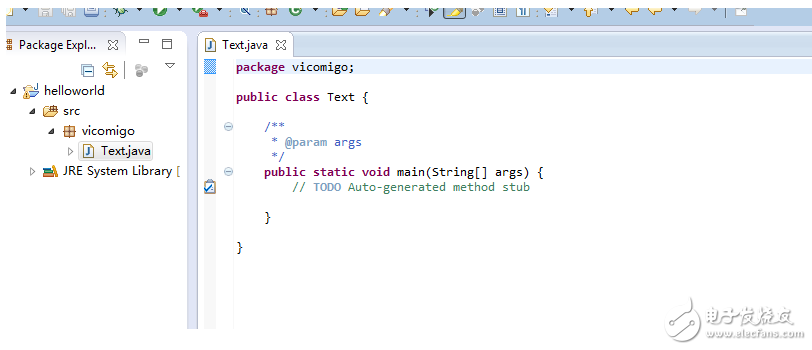
The class file has been built.
d. Write a simple helloword and try it out.
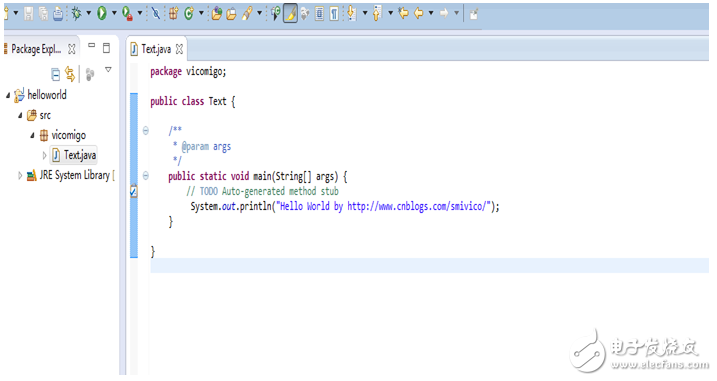
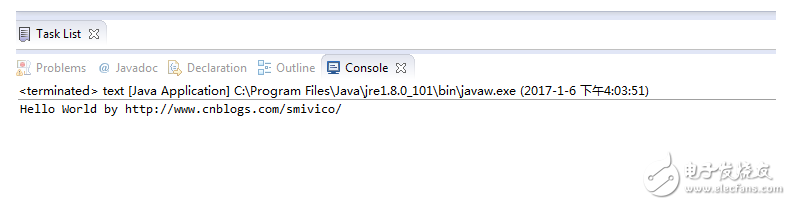
Add the following code: System.out.println("Hello World by http://");
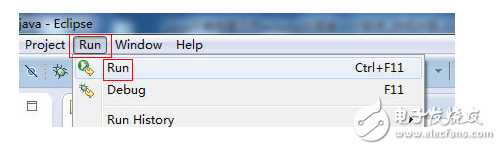
7. Compile and run
Click Run--Run in the menu bar to compile and run, or directly press Ctrl+F11
There are many ways to start the program, and eclipse itself has a lot of shortcut buttons.
After the startup program runs successfully, the output can be seen in the console window.
Moving Head Lights,Led Moving Head,Mini Moving Head Light,Led Moving Head Light
Guangzhou Cheng Wen Photoelectric Technology Co., Ltd. , https://www.cwledwall.com